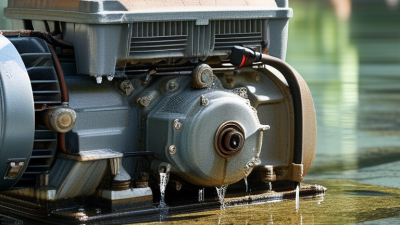
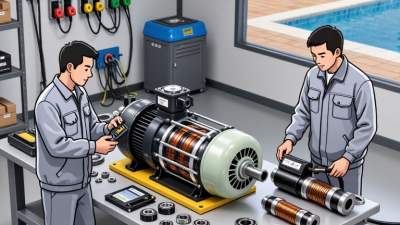
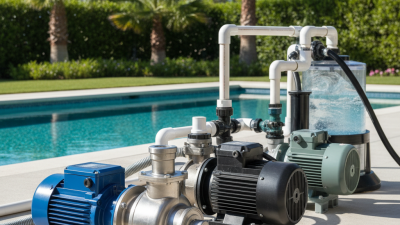
A failing pool motor rarely stops without clues. You may hear a sharp hum, notice weak circulation, or find water beneath the housing. These details matter. They can reveal whether the problem involves the capacitor, bearings, shaft seal, wiring, or a restricted impeller. This guide explains pool motor repair through practical inspection, careful testing, and realistic replacement decisions. It is written for homeowners who want clear direction before opening the equipment room.
Pool professional Steve Goodale offers a useful reminder: “The pump is the heart of the pool system, so small changes in sound and flow deserve attention.” That idea shapes this guide. Begin with the model number, motor age, and visible symptoms. Turn off the correct breaker, confirm that power is absent, and never rely on a switch alone. A multimeter can identify electrical faults, but incorrect testing can damage equipment or cause serious injury. Some repairs require a qualified technician.
The process is not always tidy. A seized bearing may look like a failed capacitor. A leaking seal can damage the motor gradually. I have also seen owners replace a motor when a clogged basket caused the real problem. That mistake costs money. This article examines diagnosis, disassembly, seal replacement, electrical checks, and final testing. It also explains when repair makes sense and when replacement is safer. Pool motor repair should restore dependable circulation, not merely make the motor run for one more day.
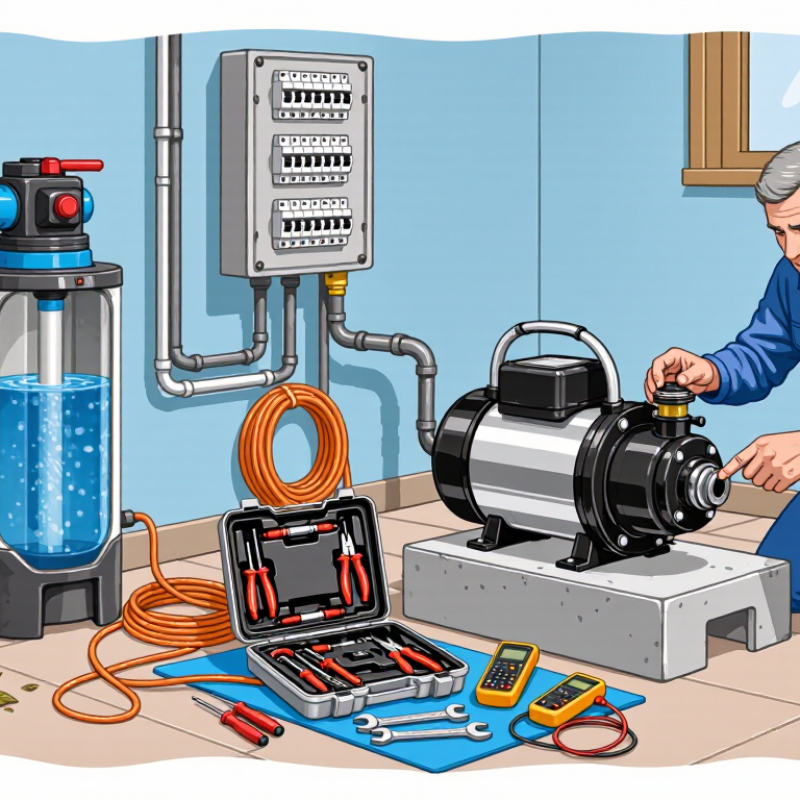
How to Repair a Pool Motor in 2026? Start by reading the nameplate before opening anything. Record rated voltage, full-load amps, service factor, and RPM. With the pump running, measure voltage directly at the motor terminals, not only at the breaker. A weak connection can show normal voltage at rest, then drop under load. Compare the result with the nameplate range. NEMA MG 1-2016 warns that voltage unbalance above 1% can create much greater current unbalance and overheating. Small numbers matter.
Next, clamp the running amps after the pump reaches stable speed. Current above the nameplate value may indicate a blocked impeller, clogged filter, tight bearing, low voltage, or incorrect wiring. Current below normal is not automatically good. The motor may be losing speed or failing to produce torque. Check RPM with a tachometer and compare it with the plate value. Variable-speed motors must be tested at the same programmed speed. Otherwise, the comparison is misleading. It is an easy mistake.
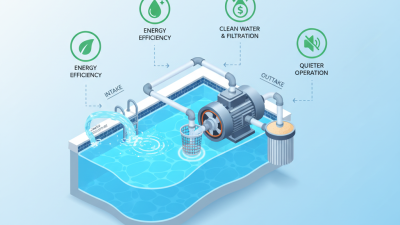
ENERGY STAR’s 2024 pool-pump guidance reports that certified efficient models can use up to 65% less energy than standard single-speed equipment. That figure supports efficiency checks, but it does not diagnose a failed motor. If voltage is correct, amps are high, and RPM is low, inspect hydraulic resistance and bearings before replacing the motor. I have seen technicians blame the capacitor too quickly. A capacitor can fail, but a dirty filter can imitate the same symptom. Disconnect power and verify zero voltage before testing internal components.
Compare measured voltage, current, and speed with the motor nameplate. This example uses a common single-phase pool-motor reference of 230 V, 8.6 A, and 3,450 RPM. The measured current is high and the speed is low, which can indicate overload, a blocked impeller, a failing capacitor, or mechanical friction.
Values are shown as a percentage of the nameplate specification. Disconnect power before inspection, and use a qualified technician for electrical testing.
Before repairing a pool motor in 2026, disconnect the circuit at the breaker and lock it out. Do not trust a silent motor or a dark control panel. Verify the tester on a known energized source, then test the motor terminals, grounding conductor, and nearby metal parts. Each reading should show 0 V. Test line-to-line and line-to-ground. Repeat the known-source check afterward. This live-dead-live method follows established electrical safety practice.
The 5 mA GFCI protects people from dangerous leakage, not from every motor fault. NFPA 70 requires GFCI protection for many pool-related electrical systems, reflecting the severe shock risk around water. The U.S. Consumer Product Safety Commission reports that GFCIs can prevent about two-thirds of home electrocutions. Press the GFCI test button according to its instructions, commonly each month. It should trip immediately and remove power.
Wet probes, damaged leads, or the wrong range can produce false confidence. I have seen technicians check only the breaker, then touch a supposedly dead motor. That shortcut is unacceptable, but human error remains possible. Use insulated tools, dry footing, and suitable personal protective equipment. If voltage remains, the GFCI will not reset, or the motor has stored charge, stop and contact a qualified electrician. Record the measured values, test method, and time. A clear record exposes mistakes before repair begins.
In 2026, pool motor repair still begins with testing, not guessing. Turn off the breaker and confirm zero voltage with a rated meter. Never trust a silent motor. Remove the cover, photograph the wiring, and inspect for melted insulation, moisture, or loose terminals. A dry, clean work area matters. I once blamed a capacitor for a stubborn start; the real fault was a seized bearing. That mistake taught me to test every related component.
Spin the shaft by hand. It should move smoothly without grinding, tight spots, or side-to-side movement. A rough bearing can cause humming, overheating, and repeated breaker trips. Test the capacitor with a meter that measures capacitance, then compare its reading with the marked µF range. A swollen case or leaking fluid requires replacement. Use the correct voltage and capacitance rating. Guessing here is expensive. Inspect the mechanical seal for drips around the shaft. Even a small leak can damage internal motor parts over time.
Check whether the motor is configured for 115 or 230 V before reconnecting wires. Match the terminal arrangement to the motor diagram, not to memory. Confirm wire size, grounding, tight connections, and insulation condition. Do not switch voltage settings while energized. If readings conflict with the diagram, stop and call a qualified electrician. My own wiring checklists have improved, but I still recheck every connection before restoring power. Loose terminals remain an easy fault to miss.
How to Repair a Pool Motor in 2026?
Repairing a pool motor starts with accurate specifications, not guesswork. Turn off the breaker, lock it out, and confirm zero voltage with a meter. Remove the motor cover carefully. Capacitors can retain dangerous energy, even after power is disconnected. Discharge them using an approved method and insulated tools.
Check the capacitor’s microfarad rating, voltage rating, terminal layout, and physical condition. A swollen case, leaking surface, or burnt terminal usually means replacement. Use the manufacturer’s exact ratings whenever possible. A higher voltage rating may be acceptable in some designs, but the capacitance must match. I have seen motors fail again after an incorrect capacitor was installed. That mistake is easy to make.
Use a calibrated torque wrench on terminal screws, housing bolts, and bonding connections. Manufacturer torque values protect threads, seals, and electrical contact points. Overtightening can crack insulation or distort the housing. Under-tightening can create heat and vibration. If the winding smells burnt or shows poor insulation resistance, replacing the motor may be safer than repairing one part.
Tips: Photograph every wire before removal. Mark each terminal clearly. Keep water away from open electrical parts. Recheck shaft rotation by hand before testing. I sometimes find one loose washer after reassembly, so I inspect the work twice. If the manual is missing, obtain the correct service data before applying power.
After repairing a pool motor, commission it with controlled checks, not guesswork. Restore power only after the housing is closed and grounding is verified. Fill the pump with water and open the necessary valves. Never run the pump dry, even briefly. Keep hands, tools, and loose clothing away from moving parts. I once treated a short test as harmless; that mistake produced a louder bearing rumble.
Confirm rotation according to the motor’s service instructions. Switch power off before changing any wiring. Incorrect rotation can reduce circulation and strain the impeller. Watch the water movement through the clear lid or return outlets. Strong, steady flow usually indicates proper priming. Weak flow, air bubbles, or repeated loss of prime may signal a blocked basket, suction leak, or closed valve. Check these details before blaming the motor.
Listen closely during operation. A smooth electrical hum is normal, but grinding, rattling, or sharp squealing requires shutdown. Let the motor reach stable operating conditions before measuring current. A qualified person can use a clamp meter around the supply conductor. Compare the reading with the motor’s rated amps on its nameplate. A slightly high reading deserves investigation, not acceptance. Voltage imbalance, restricted flow, damaged bearings, or incorrect wiring can cause overheating. Record rotation, flow behavior, sound, voltage, and amperage for future service decisions.
| Commissioning Check | How to Verify | Typical Acceptable Result | Warning Signs | Corrective Action | Status |
|---|---|---|---|---|---|
| Electrical supply and grounding | With power isolated, inspect terminals, bonding, conduit, and ground connections. Restore power only after the terminal cover is secured. | Supply voltage matches the motor nameplate rating, connections are tight, and the equipment grounding and bonding conductors are continuous. | Loose terminals, damaged insulation, missing bonding, water in the terminal box, or voltage outside the motor's rated range. | Turn off the circuit at the disconnect, correct wiring defects, and have electrical work checked by a qualified professional. | Check |
| Priming and water level | Fill the pump housing with clean water before starting. Open the required suction and return valves and confirm the filter system is ready. | The pump remains fully primed without repeated loss of water, and the strainer basket is filled with water during operation. | Dry running, air bubbles under the lid, swirling water in the basket, or a pump that will not hold prime. | Stop the motor. Check the lid O-ring, drain plugs, suction-side fittings, water level, valve positions, and possible air leaks. | Pass |
| Rotation direction | For a single-phase motor, compare shaft or impeller rotation with the pump housing arrow or service instructions. For a three-phase motor, rotation can normally be reversed only by an electrician after isolating power and swapping two supply phases. | Rotation agrees with the pump manufacturer's specified direction, producing normal pressure and flow. | Very low flow, abnormal pressure, rattling, or a motor that appears to run normally but does not circulate water correctly. | Disconnect power before making any wiring change. Do not reverse a single-phase motor unless its design permits it. | Check |
| Initial startup | Start the motor with the system filled and observe the pump, unions, drain plugs, lid, and nearby pipework for the first several minutes. | The motor starts promptly, reaches stable speed, and the pump shows no water or air leakage. | Repeated tripping, delayed starting, visible leakage, rapid heating, or a motor that stops shortly after startup. | Stop the motor and investigate voltage, capacitor condition, bearings, impeller blockage, water leaks, and overload protection. | Check |
| Water flow | Compare the return-jet strength and filter pressure with the system's normal operating readings. If available, use a calibrated flow meter. | Water returns steadily, the pump basket remains full, and pressure and flow are consistent with the pool system's established baseline. | Weak or intermittent return flow, excessive air, sudden pressure change, or a large difference from previous normal readings. | Inspect the skimmer basket, pump basket, impeller, valves, filter condition, suction line, and discharge line for blockage or air entry. | Pass |
| Operating noise | Listen at the motor, pump housing, bearings, and pipe connections while the system is running normally. | A steady electrical hum and normal water-flow sound without grinding, screeching, rattling, or strong vibration. | Grinding or rumbling may indicate worn bearings; rattling may indicate debris or cavitation; screeching may indicate bearing or seal problems. | Stop the motor if noise is severe. Check alignment, mounting, debris, suction restriction, bearings, and the mechanical seal. | Check |
| Running current | After the motor reaches stable operating speed, measure current on each energized conductor with a suitable clamp meter. Follow electrical safety procedures. | Measured amperage is at or below the motor nameplate rated-load current under the actual operating conditions, with stable readings. | Current above the rated value, significant imbalance between phases, fluctuating readings, or nuisance overload trips. | Stop the motor and check supply voltage, phase balance, impeller obstruction, excessive head pressure, bearing drag, and incorrect wiring. | Check |
| Motor temperature and ventilation | After normal operation, inspect the motor housing and confirm that air passages are open. Avoid touching hot surfaces directly. | The motor operates without repeated thermal shutdown, burning odor, or abnormal heat buildup, and ventilation openings are unobstructed. | Burning smell, discolored wiring, repeated thermal trips, or unusually rapid temperature rise. | Turn off power. Correct overload, blocked ventilation, low voltage, excessive mechanical load, or failing motor components. | Check |
| Leak and seal inspection | Check the shaft-seal area, pump housing joints, lid, unions, and drain plugs while the pump is running and after shutdown. | No continuous dripping, spray, or air being drawn into the suction side. | Water dripping between the motor and pump housing, persistent leaks at threaded joints, or air entering through the lid or fittings. | Replace damaged O-rings or seals, reseat fittings correctly, and replace a failed mechanical shaft seal rather than applying unsuitable sealant. | Pass |
| Final commissioning record | Record date, supply voltage, measured current, filter pressure, observed flow condition, noise condition, and any adjustments made. | All readings are documented and remain within the motor and pool system's specified operating limits. | Missing measurements, unexplained changes from the baseline, or unresolved safety and performance issues. | Do not return the equipment to normal service until unsafe wiring, excessive current, severe noise, leaks, or inadequate flow have been corrected. | Pass |